BIO00087H Workshop 2: Linux IV
Linux skills development
This will give you access to the entire Introduction to Shell course.
- Join the BIO00087H Genomics 20250-26 Classroom using this link
- Sign in with your University of York Google account
- Work through the Introduction to Shell course
1 Learning objectives
2 Introduction
It’s OK to make mistakes. It’s OK to need help.
- there are no stupid questions (ask us anything!)
- don’t worry about making mistakes (we all make mistakes)
2.1 How to get the most from this workshop
We suggest that
- You sit with your poster group, so you get to know them
- You make a plain your ‘lab book’ file that you record your work in
- Ask questions if you are at all confused
- We always keep good records in our lab books when we are in the lab, or out in the field.
- In the same way is it essential to document bioinformatic analysis.
- Start this now, but creating a plain text file using Notepad, Notepad++ or some other plain text editor (do not use MS Word or Google Docs). Record all your work in this document, like a lab book.
2.2 Instructions and code
In these workshops, instructions are in ‘this font’
and code is in this font# Bash code here
echo "Hello from Bash"This workshop must be run on university PCs, not your own laptop. This is because you will need a Linux machine that has the correct software installed. Because there are diversity of laptops, it is not feasible to support software installation for everyone.
3 Exercises
3.1 Starting PCs in Linux
- To start the PC in Linux, make sure you are not logged in.
- Then re-start the PC and wait.
- When the option to boot into Linux comes up, use arrow keys to select the Linux option (rather than Microsoft Windows).
- Log in with your usual University of York username and password
- Start up the Terminal window, the text editor and the Firefox web browser.
In these workshops, we will work almost exclusively in the Linux command line using the Terminal window.
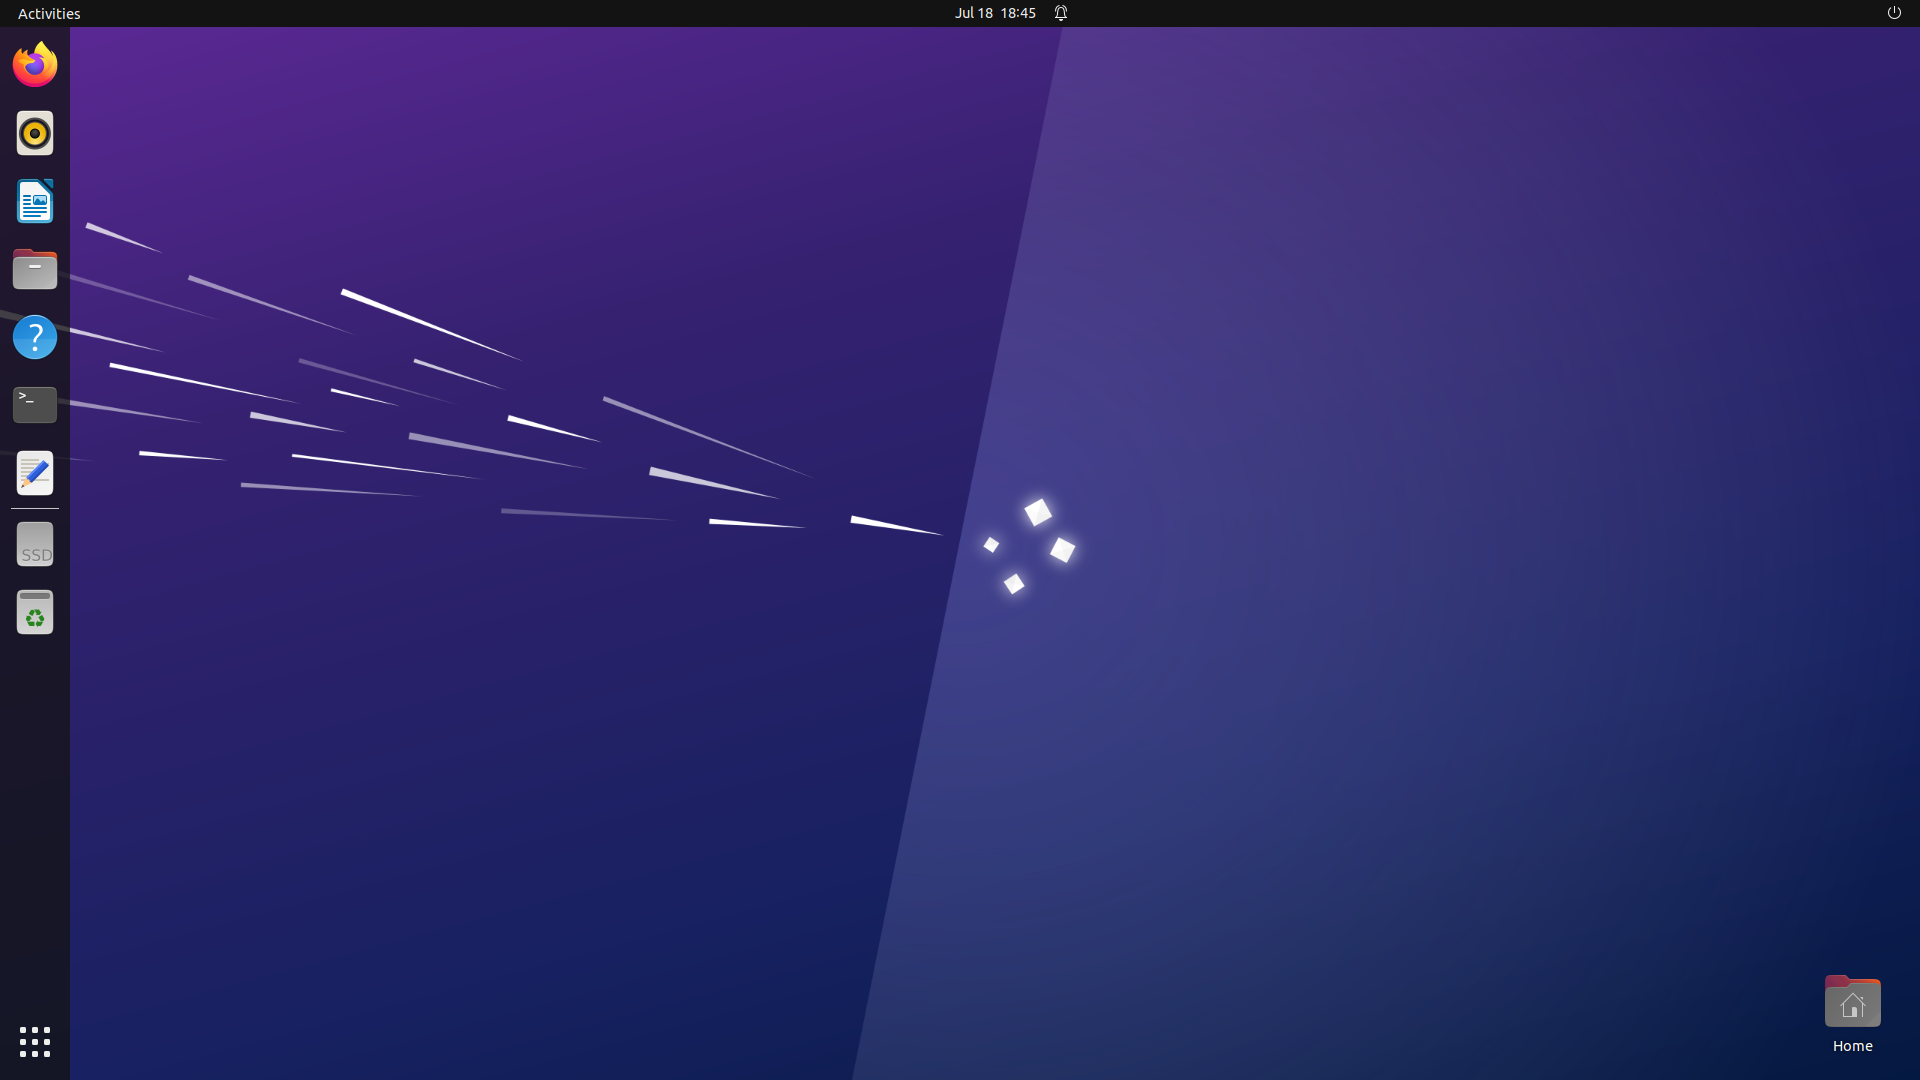
Figure 1. Linux screen. Clicking on the ‘nine dots’ symbol at the lower left of the screen will show the apps that are available. The Text Editor, Terminal Window and Firefox (web browser) are all you will need. The On/Off button is at the very top right of the screen. Don’t forget to log off at the end of workshops.
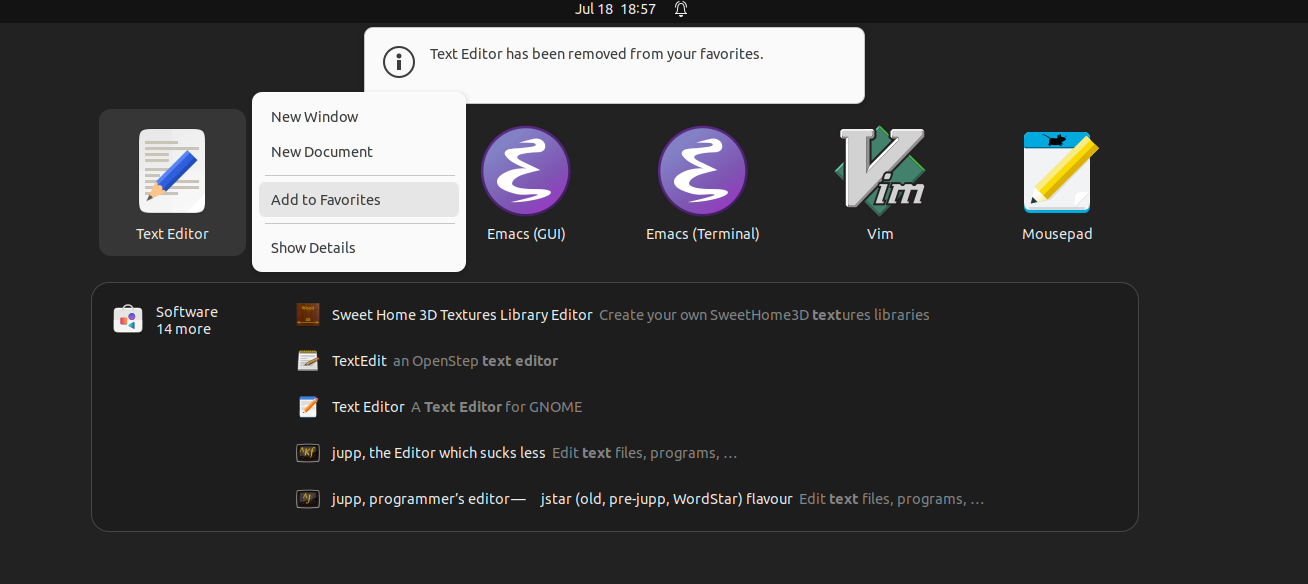
Figure 2. Adding the Text editor to favorites. We suggest hat you add the Text Editor app to your favorites, so it appears on the left hand apps panel.
3.2 First commands to orient yourself
To get started with Linux, open the Terminal window.
To copy and paste text in the terminal window:
- Use the mouse to select text
- Use Right click to copy or paste.
Try typing these commands in the terminal window:
- Find out which user you are with
whoami - Check who else is logged in with
who - Find out what directory you are in with
pwd(print working directory) - List files in this directory with
ls - List files in this directory in long format, sorted by time
ls -latr
The manual explains the options for the command. To see the manual, type man [command], for example man ls . Manuals show useful ‘flags’ (options) for commands. For example ls -ltr does a long list (l), sorted by time (t) in reverse (r).
3.3 Change your working directory, to own directory
The module directory, where all the data and your work will be stored is: /shared/biology/bioldata1/bl-00087h/
You should do your work within the students directory: /shared/biology/bioldata1/bl-00087h/students/
To start this workshop, change directory into your own directory with:
cd /shared/biology/bioldata1/bl-00087h/students/$USER
You can replace the $USER with your username if you like.
Next, check that you are in the correct directory with pwd and see what is in this directory with ls.
All the files you create from now on will be within your own directory. Apart from the staff, you are the only person who can create, edit or delete files in this directory.
3.4 Important Linux commands
3.4.1 Basics
You should be familiar with the commands below from the DataCamp Introduction to Shell course. If not, here is a cheat sheet to remind you.
ls(list files)cd(change working directory)mv(move a file, files, or directories)cp(copy a file, files, or directories)
rm(move a file, files, or directories)
pwd(print working directory)
3.4.2 Making directories and moving between them
One of the challenges to working in Linux is knowing where you are. By where you are, we mean which directory you are working in. Here are some commands to help you navigate around directories in Linux:
In the box below, there are some exercises to help you get used to navigating around directories in Linux. We start by making a house directory, inside this we will place three directories (bedroom, kitchen, bathroom).
Even if you are very comfortable with this aspect of Linux, don’t skip this section. We use these directories in mote advanced exercises later.
- Make a directory called
housein your own directory:mkdir house - To check this worked run the
lscommand. You should seehousein the list of files - Now change directory (
cd) into thehousedirectory:cd house - To check this worked run the
pwdcommand. You should see that you are now in thehousedirectory - Make three directories called bedroom, kitchen and **bathroom*:
mkdir bedroomthenmkdir kitchenand finallymkdir bathroom
Or make them all in one go with:mkdir bedroom kitchen bathroom
- Check that these directories have been made with
ls -F
3.4.3 Creating and listing files
Now, inside each room, we will make an empty file.
- Check where you are and what is in there with
pwdandls - Make an empty file in the bedroom directory with
touch bedroom/bed.csv - Now we make an empty file in the bedroom directory with
touch bedroom/bed.txt - Make an empty file in the kitchen directory with
touch kitchen/sink.txt - Make an empty file in the bathroom directory with
touch bathroom/sink.txt - Make an empty file in the house directory with
touch carpet.txt
Now we find out how to use ls to list files in directories.
- Check where you are with
pwd - Check what is in the
housedirectory, withls - To see what files are in the bedroom directory, do
ls bedroomorls -F bedroom, and so on for the other rooms.
We use ls -F because the -F flag adds a / to the end of directory names, so you know they are directories and not files. You’ll see that carpet.txt is a file, and bedroom/, kitchen/ and bathroom/ are directories.
3.4.4 Wildcards
Sometimes you want to run a Linux command on many files at once. We use two symbols to specify a collection of files. The * means any set of characters (including no character!), and ? to mean any single character. The next box shows you how to use wildcards.
- To list all the files in the
housedirectory and all its subdirectories, do:ls */* - To list any files that end with
.txtin thehousedirectory and all its subdirectories, do:ls */*.txt - To list any files that start with
sinkthe subdirectories, do:ls */sink* - If we wanted to delete all the
.txtfiles in thehousedirectory and all its subdirectories we would do:rm */*.txt. Don’t do this now though.
rm *.*
It will remove all your files! And there is no backup.
3.5 More advanced Linux commands
3.5.1 Loading modules
The software installed on these PCs and servers at York are made available through the module system lmod. This allows multiple versions of the same software to be installed without conflicting or interfering with each other.
Loading a module is like installing an app on your phone, in that it gives you access to a new tool. To load a module we run a command such as:
module load NECAT/0.0.1-GCCcore-12.3.0
Do this now, so you have the NECAT genome assembly software available later today.
3.5.2 Make a directory for the next workshop
At this stage it is would be a good idea to make a directory for the next workshop. Well then put some files in there.
First, cd to your directory, by going up one level with
cd ../
Alternatively you can always go back to your own directory with
cd /shared/biology/bioldata1/bl-00087h/students/$USER
Then make the new directory:
mkdir workshop3
Then change to this directory with:
cd workshop3
We will now put some files in here for the next workshop.
3.5.3 Creating symbolic links (soft links)
It’s not a good idea to copy large files around, because it takes up server space. There is no need to, because we can use symbolic links (sometimes called soft links). A soft link is not a standard file, but a special file that points to an existing file. To create a soft link, use the ln -s command and the following syntax:
ln -s [file path you want to point to] [link file name]
Soft links are very useful, because we can use them as input for any tool, just like we could a normal file. If we delete the link, the original file remains!
Try this out. Create a link to this genome assembly file:Lbraz.M2904.fasta. Which is located in this directory (the path to the file): /shared/biology/bioldata1/bl-00087h/data/L.braziliensis/genome
Then make the soft link:
ln -s /shared/biology/bioldata1/bl-00087h/data/L.braziliensis/genome/Lbraz.M2904.fasta .
Don’t forget the dot (.) at the end of this command!
To check that it has worked do: ls -lF . You should see:
Lbraz.M2904.fasta -> /shared/biology/(and so on)
We can name the link file anything we like.
We can also make soft links for many files at once using wildcard symbols like *. Do this now, so that you have a collection of links in your directory.
ln -s /shared/biology/bioldata1/bl-00087h/data/L.braziliensis/genome/* .
Then check that it worked with ls -lF . You should see a list of files, each with an arrow (->) pointing to the original file.
3.5.4 Pipes and output redirection
Sometimes we want redirect the output of some analysis to a file, so you can keep the information. We use the > symbol for this. So to capture the list of fastq files in a data directory, we can do this:
ls /shared/biology/bioldata1/bl-00087h/data/L.braziliensis/genome/*fastq.gz > fastq.files.txt
You now have a file called fastq.files.txt. Examine what this file contains with
less fastq.files.txt
Press q to quit from less.
We can also use a pipe to feed the output from one command into another. Like feeding the grep output directly into word count, for example. The | symbol (pipe) does this. It’s like connecting a pipe from one machine, so that what comes out of it it fed directly into another machine! You can also chain pipes together, eg:
ls /shared/biology/bioldata1/bl-00087h/data/L.braziliensis/genome/*fastq.gz | wc -l
This command lists all the files in the directory /shared/biology/bioldata1/bl-00087h/data/L.braziliensis/genome/ that end in fastq.gz, then uses word count (wc) to count the number of lines that (which equals the number of files in this case). Word count (wc) has many other uses.
3.5.5 grep, the grabbing tool
grep is a command used to search files for the occurrence of a string of characters that matches a specified pattern. It’s easy to use and very powerful. grep extracts lines of a file that match a pattern. Or lines that don’t match a pattern. Or counts the lines that match a pattern. The syntax is:
grep [OPTION...] PATTERNS [FILE...]
Imagine we have a file that contains the symbol >, such as a FASTA format sequence file (eg: Lbraz.M2904.fasta). We want to see only the lines in that file that contain this symbol, because these lines contain the sequence names in a FASTA format file.
First take. look at the file Lbraz.M2904.fasta using :
less Lbraz.M2904.fasta
You can use the arrow keys to scroll up and down through this file. Use the key q to quit from less.
To extract out all lines with the > character, we do:
grep '>' Lbraz.M2904.fasta
The quotes (') are important here because the > symbol has a specific meaning in Linux, but we usually don’t need it for grep.
If we want to count all the lines that have this symbol we use the -c flag of grep.
grep -c '>' Lbraz.M2904.fasta
To see all the lines that do not contain the > character, we can use the -v flag:
grep -v '>' Lbraz.M2904.fasta
3.5.6 A special kind of pipe: &>
There are two kinds of outputs in Linux:
- standard error (STDERR, warnings and other info)
- standard output (STDOUT)
While > redirects only STDOUT, &> redirects both STDERR and STDOUT. This can be handy if you are not capturing what you want to. The command below captures all the information that would usually be ‘printed’ onto the screen, and stores in a the file Lbraz.assembly.log.
necat.pl correct Lbraz-subset.necat.config.txt &> Lbraz.assembly.log &
3.5.7 Using \ and & to run commands
The \ symbol allows you to compose and type long (multi line) commands, without the shell running the command. Effectively \ means, I’m not done yet, don’t run this code. For example, the code below will not run until we get to soft.link.fasta:
ln -s /shared/biology/bioldata1/bl-00087h/data/L.braziliensis/genome/Lbraz.M2904.fasta \
Lbraz.M2904.fasta.soft.link
We don’t need Lbraz.M2904.fasta.soft.link to remove it using the rm command.
The ampersand symbol: &
Adding & at the end of a command allows you to run a command ‘in the background’. This means that you can set a process running but still type other commands into the shell, without waiting for it to complete. For example, Some commands will take a half an hour to complete:
#correct some reads with NECAT
necat.pl correct Lbraz-subset.necat.config.txt &> Lbraz.assembly.log &
Run this command now, so the results are available for the next workshop.
Since we put & at the end of this last comment, we can do other things while we wait.
3.5.8 history, grep and running commands again
To see the commands you have run before do: history
This is very useful if you can’t remember what you last did.
If you want to run a command that you have run before, press the up arrow in Linux. Keep pressing it for previous commands. You can also edit a command, by moving though it with the left and right arrows, and adding removing text. Press [enter] when you are done, to run the command.
If you know you have run a certain type of command, but can’t find it, you can grep it from your history like this. Here we use grep to search for gzip commands:
history | grep gzip
history is also useful for recording the commands you have run, so you can copy and paste them into your lab book file. Or you can pipe the output of history to a file, like this:
history > history.2025-09-30.txt
This will create a file called history.2025-09-30.txt in your working directory, that contains all the commands you have run in this terminal session. I put the date 2025-09-30 in the file name, so I know when I created it.
3.6 Tidy up
With so many files it is it important to keep your directory tidy. Tidy up by:
Going back to your own directory with cd ../ or cd /shared/biology/bioldata1/bl-00087h/students/$USER
Then removing the house directory and all its contents: rm -rf house
4 Reflection
You know know how to navigate around directories in Linux. You should have some understanding of these concepts:
- directories in Linux
- working directory
- symbolic links
- pipes
- wild cards
5 The end
6 After the workshop
6.1 Consolidation exercises
It will take a while to used to Linux. This cheat sheet should help. You may wish to print it out and bring it with you next time.
6.2 Planning for your report
The only summative assessment for BIO00087H is a 2000 word report. Your report should have two parts:
An introduction (up to 1000 words*). This should be a literature review, covering material that is relevant to the data analysis you chose to do. Don’t attempt a general genomics introduction!
A bioinformatic data analysis section (up to 1000 words*). During the module, we will show you how to analyse data to carry out these analyses on various test data sets:
- Genome assembly annotation and BLAST (Workshop 3)
- Bulk RNAseq analysis (Workshop 4)
- Single cell RNAseq analysis (Workshop 5)
- Population genomics (Workshop 6)
For your report, you should choose one of these analyses methods, and repeat it on a larger data set that we provide. All data sets are in /shared/biology/bioldata1/bl-00087h/data
- These word limits are maximums, not targets. You can achieve a very high grade with a shorter report.
Detailed information is available in the BIO00087H Genomics report guide.